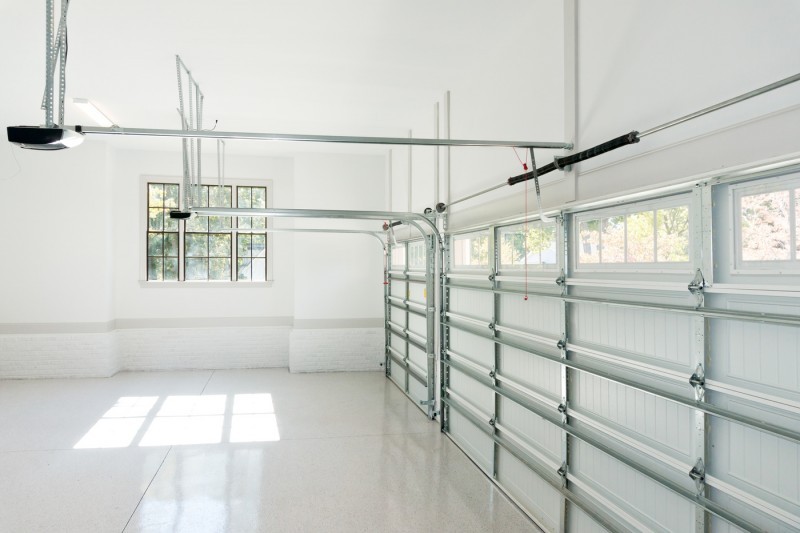
Chances are you have decided to install a garage to add to the overall look and appeal of your house, all while creating a new storage location for your vehicles and tools. Your garage will quickly become an extension of your house, and for that reason, it should be treated as one.
Floors Suitable for a Garage
As anyone who has ever owned a driveway knows, cars and trucks are prone to having oil and other chemicals drip from their engines only to form a pool on the concrete below. Old-fashioned elbow grease and a strong detergent can help with the problem; time and sunlight seem to be the only way to have a stain thoroughly removed. When this happens in your garage, the sun is not there to aid in the process, and your floor can quickly become a spotted mess.
We have discussed the different options for selecting the ideal garage floor, and today we look to please the motorhead in your life by explaining the advantages associated with selecting epoxy for your new floor.
Aside from the professional look, it is sure to add to any garage; epoxy has become one of the top flooring choices due to its ability to repel liquids. An epoxy surface causes water to bead, and oil spots can be wiped away with the swipe of a towel. This alone makes epoxy a favorite choice for automotive shops and hobbyists. Anyone looking to turn their garage into a make-do repair shop will be pleased with the ease with which this material cleans.
Epoxy coated floors are also quite easy to install, and can usually be done by the homeowner. Let’s run through the basic steps needed to install an epoxy floor on your own.
- Before applying the coating you will want to make sure that that you have completely removed all dirt and grime from the floor. A stiff brush and a heavy-duty degreaser make the perfect combination to remove any remaining stains on the surface and repeat this process until water no longer beads up on the once oily surface.
- The epoxy sealant will not correctly bond to a floor that is allowing moisture to enter the garage. A simple test that checks for this requires nothing more than a plastic bag and duct tape. Cut a square out of the bag and use the tape to seal it to the floor tightly. If the bag remains dry after 24 hours, you should be good to go, however, if moisture appears you could have a moisture issue that needs to be addressed with a garage technician.
- After you have determined that you are free of moisture problems you can continue to clean the entire surface of the floor with a batch of concrete cleaner. We recommend using an electric power scrubber, and all spots and corners that cannot be reached must be done by hand.
- After you are confident that all dirt has been removed, use a shop vacuum to remove all of the water left standing.
- Now we must etch the concrete to give the epoxy a surface to bond with. This process usually requires a mixture of muriatic acid and water which can be administered with a standard garden sprinkler.
- Once again we must spray out the entire area and scrub to remove any of the remaining etching solvents.
- Finally, you can take a break, as we must wait for the entire surface to dry before we even consider applying the epoxy.
- Visit your local hardware store or chat with the professionals at Colorado Overhead Door Co. for assistance in selecting the epoxy coating right for you.
- Mix the epoxy according to the instructions on the packaging, and be sure to use the correct safety equipment to prevent from breathing in the harmful fumes. It is also recommended to leave the garage door open after applying the first coat to prevent a buildup of these same fumes.
- After the first coat had fully dried, we can now move to the textured coat of epoxy. Small granules are added to the mix to give the floor a non-slip texture, and this will always be added to the final coating of your floor.
- Allow the epoxy to fully dry before deciding to walk on its surface; a process that usually takes around 16 hours.
With the epoxy now hardened, you may begin to move things back into your garage, but we recommend giving the floor three to seven days before asking it to support heavy equipment. Also, refrain from parking your car in the garage for the same period to allow the epoxy to set fully.
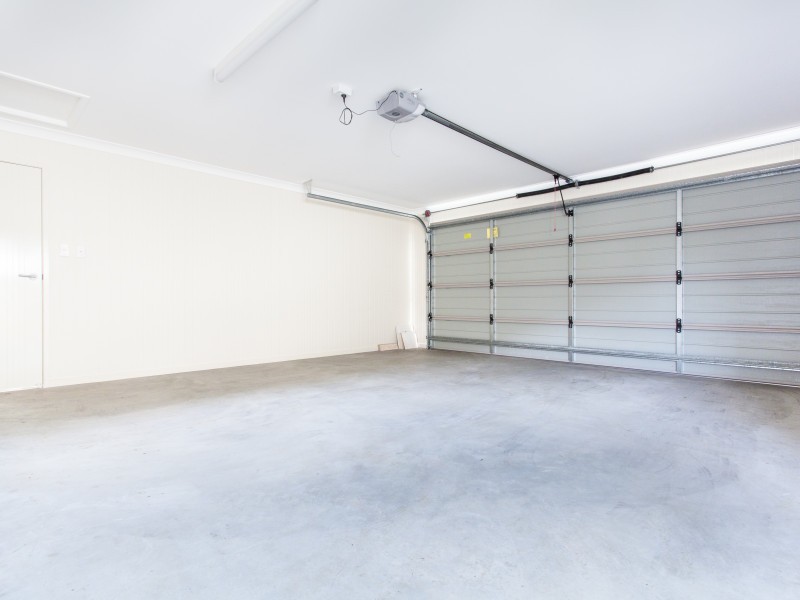
With your new floor installed, you have turned a once ordinary garage into a clean and safe workplace. Not only does the shiny appearance of the coating add to the overall look and feel of your garage, but you have also stain-proofed your floor.
The entire process can take up to a total of nine hours over the course of a three-day period, but it will save you countless hours of scrubbing in the future!