Garage Door Opener Won’t Close? Fix a Blinking Chamberlain
Garage door opener won’t close and the lights keep blinking? Learn what those signals mean, quick checks you can do, and when to call a pro.
When Your Chamberlain Opener Won’t Close and Just Keeps Blinking
We recently got a call from a homeowner — let’s call him Mark — who had a brand-new garage door we’d installed through a Home Depot project. The door itself was working great, but his wall-mounted Chamberlain opener was driving him crazy.
Mark told us the door would start to close, get almost all the way down, then reverse and go right back up. On top of that, the opener’s safety sensor lights at the bottom of the tracks were solid (not blinking), but the up button on the control panel next to the “Learn” button was blinking nonstop. He couldn’t get out of that mode, and pressing the up or down buttons didn’t move the door at all.
If that sounds familiar, you’re not alone. Let me walk you through how we think about this kind of Chamberlain (and similar) garage door opener problem and what you can safely check before calling in reinforcements.
First Step: Understand What the Blinking Lights Are Telling You
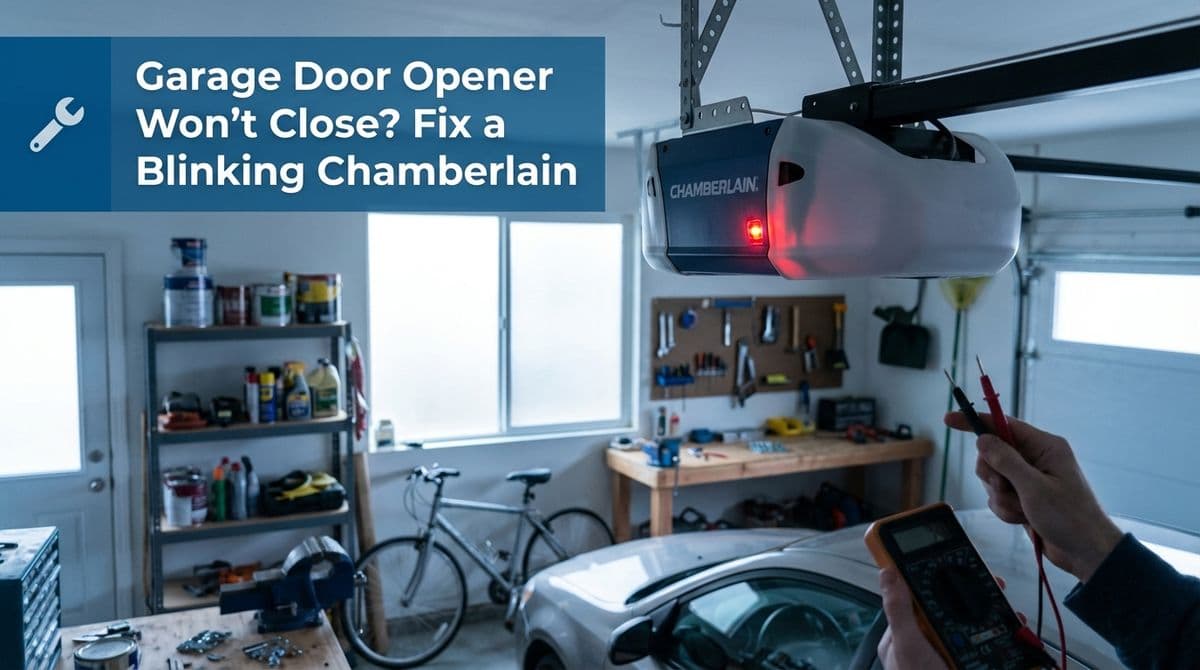
Most modern Chamberlain, LiftMaster, and Craftsman openers use blinking lights as a built-in diagnostic tool. In Mark’s case, he noticed two things:
- Safety sensor LEDs at the bottom of the tracks were solid – that usually means they’re aligned and “seeing” each other.
- The up button on the wall control, near the Learn button, was blinking continuously – that typically indicates the opener is in a travel/limit adjustment mode or stuck between settings.
That second detail is important. When an opener thinks it’s in “set up” mode, it may ignore regular open/close commands until the limits are properly set or the programming is completed.
Step 1: Double-Check the Easy Stuff Around the Door
Even when the indicators look fine, we always start with the basics. Here’s what we recommend checking, just like we talked through with Mark:
- Look for any physical obstructions along the tracks and on the floor where the door lands. A small tool, a warped weatherstrip, or a piece of debris can make the opener think it hit something.
- Inspect the safety sensors again, even if the LEDs are solid. Make sure they’re:
- Pointed directly at each other
- Mounted at the same height
- Firmly attached (no wobble when gently touched)
- Wires not pinched, cut, or pulled loose where they attach
- Check the door’s manual balance: With the opener disengaged (pull the red release cord with the door closed), lift the door by hand. It should move smoothly and stay about halfway open without slamming down or flying up. If it doesn’t, that’s a door or spring issue, not just an opener problem.
If anything in that list looks off, it’s time to pause and get a professional involved, especially for spring or balance issues. A poorly balanced door can confuse the opener’s force settings and travel limits.
Step 2: Try to Exit Programming or Travel Limit Mode
Because Mark’s up button was stuck blinking, we suspected the opener thought it was still in travel/limit adjustment mode. That’s why pressing the up/down buttons didn’t move the door.
While exact steps vary by model, most Chamberlain-style openers allow you to reset or exit that mode. Generally, you can try:
- Locate the Learn and adjustment buttons on the opener or wall control (often marked with up/down arrows).
- Press and hold the Learn button for 6–10 seconds until the LED either turns off or blinks in a different pattern. This often clears remote and keypad programming but can also reset the setup state.
- Unplug the opener for 30–60 seconds, then plug it back in. Sometimes a power cycle will exit a stuck mode and allow you to reprogram the travel limits from scratch.
Important: Always check your specific model’s manual or the Chamberlain support site for the exact button sequence so you don’t erase more than you intend to.
Step 3: Reprogram the Open and Close Travel Limits
When an opener closes most of the way and reverses, a common culprit is incorrect travel limits. The opener may “think” the floor is higher than it is, or it may sense too much force before it reaches the ground.
Typically, the process to reset limits (summarized) looks something like this:
- Put the opener into travel setup mode using the Learn/adjust buttons.
- Use the up/down arrows to set the fully open position, then confirm (often by pressing Learn again).
- Use the arrows to set the fully closed position where the door meets the floor snugly, then confirm.
- Run a full open/close cycle and watch closely to be sure it stops exactly where it should.
If, like Mark, you find the buttons don’t respond at all, even in setup mode, that’s a sign your issue might be deeper than just programming.
When It’s Likely a Wiring or Control Board Problem
In our call with Mark, he mentioned he’d already read that the next possible issues were wiring or a bad control board. He was right — if:
- The safety sensors are aligned and lit correctly
- The door is balanced and moves smoothly by hand
- The opener is powered, but the control buttons don’t move the door
- The unit seems stuck in a mode you can’t exit
…then you may be looking at a wiring fault (wall control, sensor, or motor wiring) or a failed logic/control board inside the opener head.
Those are not DIY-friendly repairs for most homeowners. At that point, we recommend either contacting the opener manufacturer’s tech support or calling a local garage door professional, especially if the unit was recently installed and may still be under warranty.
How Warranty and Home Depot Installs Usually Work
Because Mark’s project came through Home Depot, we also walked him through the warranty process. This part surprises a lot of people, so it’s worth explaining briefly.
- Our installation work typically carries a one-year warranty.
- The opener itself is covered by the manufacturer’s warranty (Chamberlain or similar), not by us.
- Home Depot usually needs to create a service request to dispatch us under warranty, so they can document whether it’s an install issue or a product issue.
We let Mark know that if the problem turned out to be with the opener’s internal electronics — not the way it was installed — he shouldn’t expect to pay out of pocket. We’d document the visit so Home Depot and the manufacturer could sort out who covers what.
When to Stop Troubleshooting and Call for Help
Here’s our general rule of thumb for homeowners dealing with a blinking Chamberlain opener that won’t close properly:
- DIY checks are fine for sensors, obstructions, and simple programming steps.
- Stop and call a pro if you suspect spring issues, a severely unbalanced door, damaged wiring, or a bad control board.
- Use your warranty — if your opener or door is relatively new, start with the retailer or manufacturer so the right party covers the repair.
If you’re stuck like Mark was — with a blinking control, a door that won’t close, and you’re at the end of what you can safely try — we’re happy to take a look, document the problem, and help you get your garage door back to closing smoothly and safely.